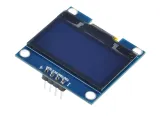
SKU: OT8682 Número de artículo: OT8682 EAN: 8721244302898
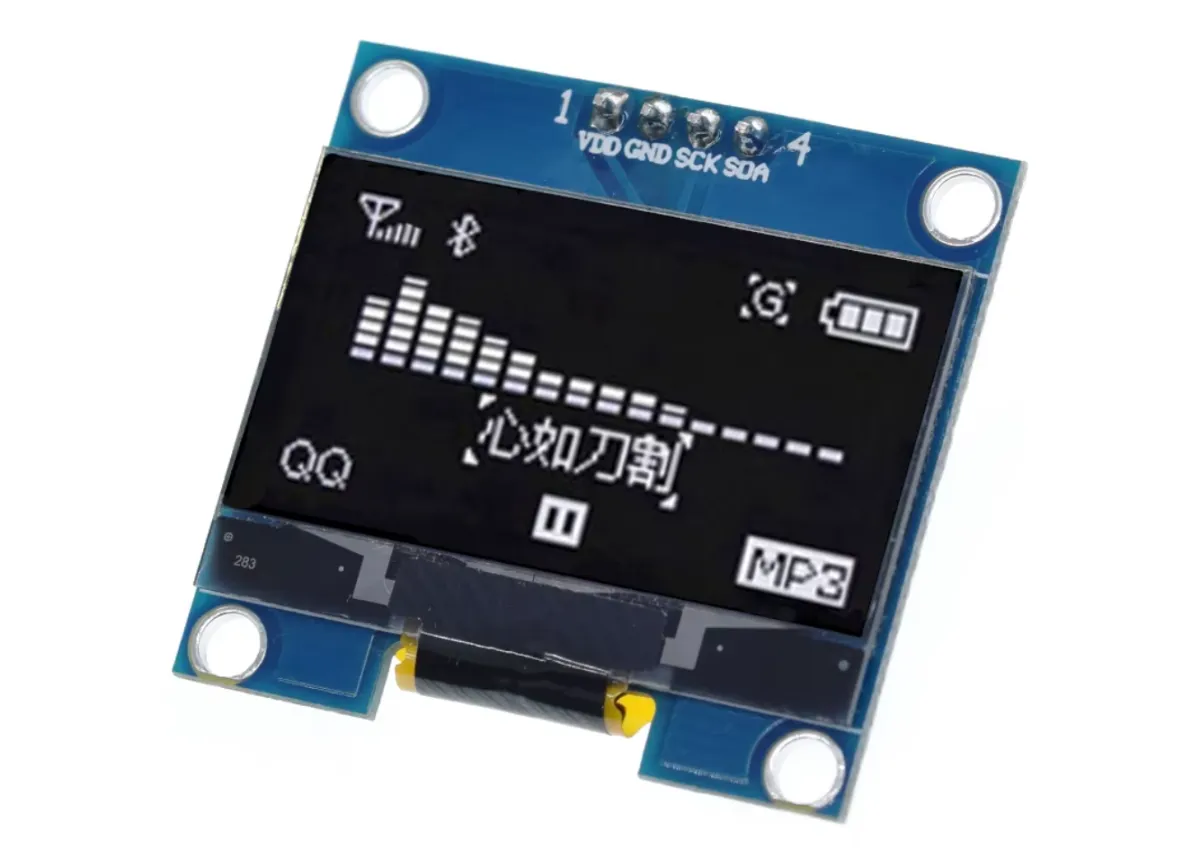
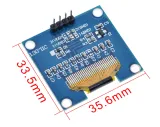
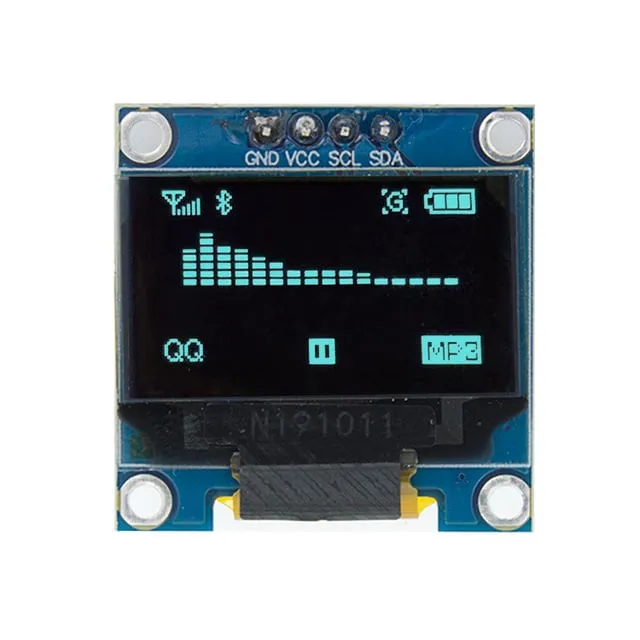
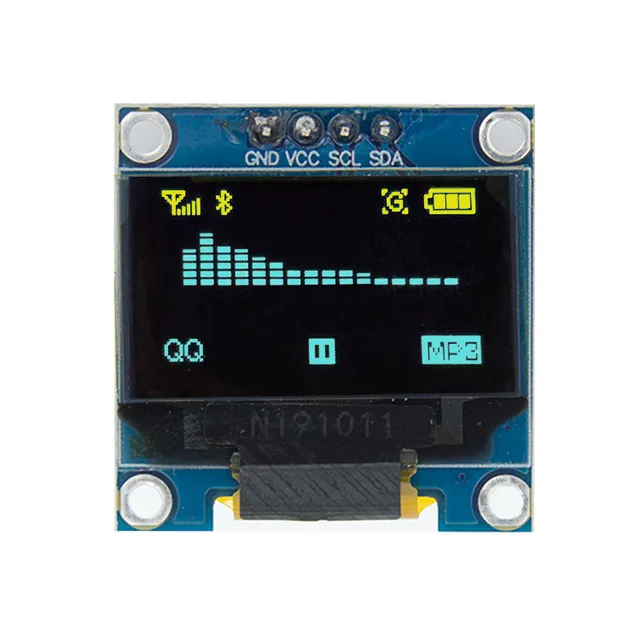
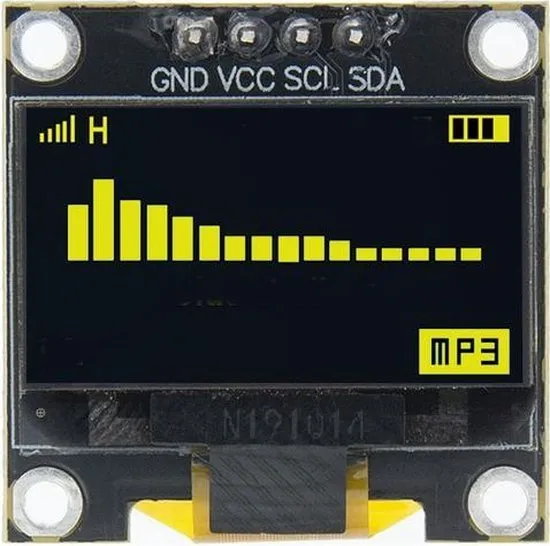
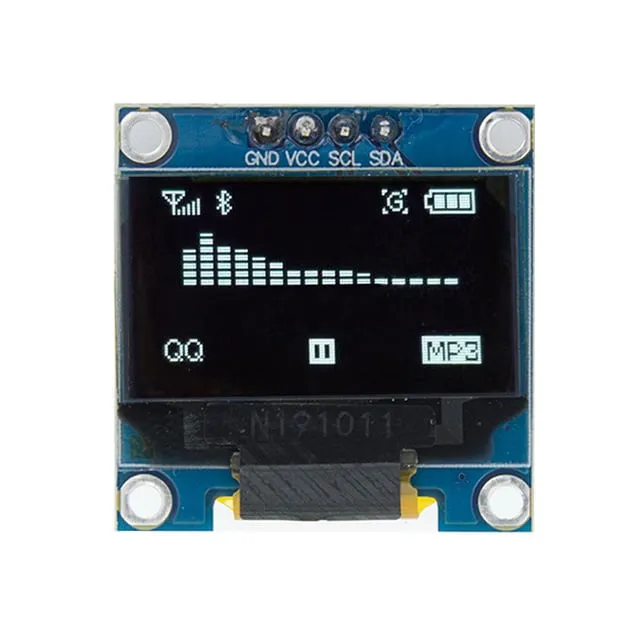
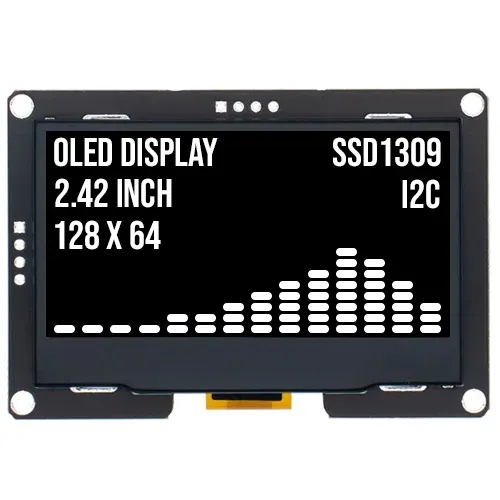
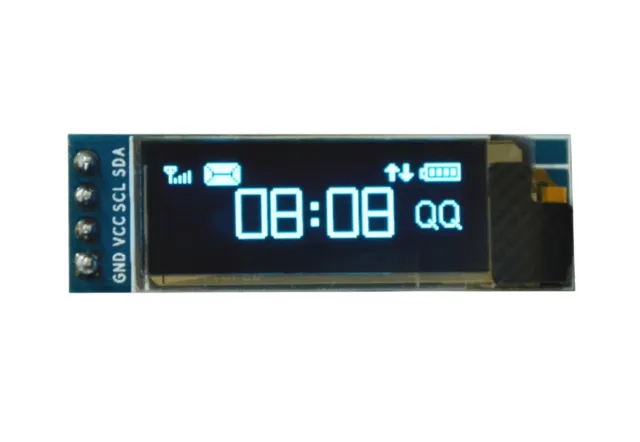
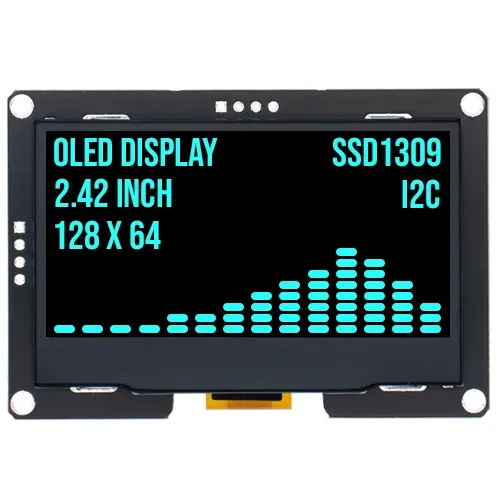
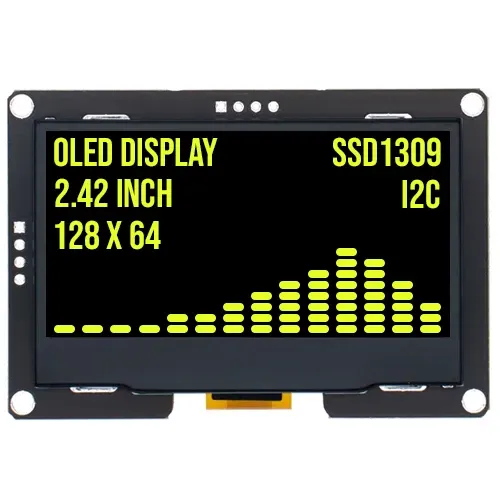
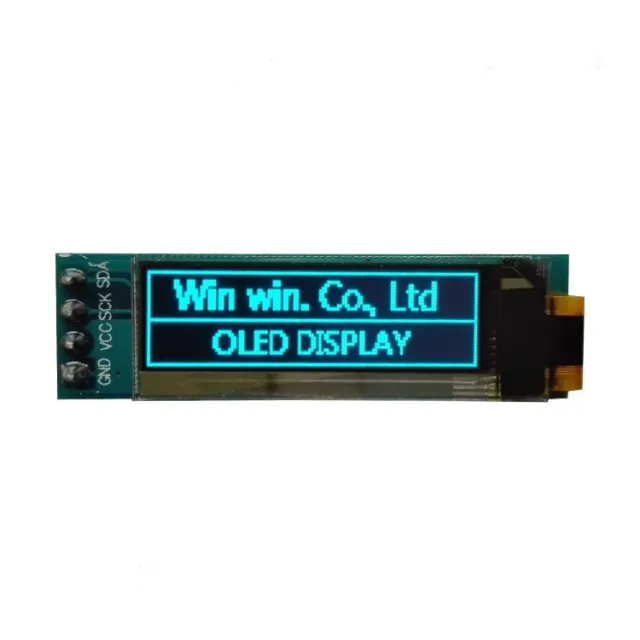
Esta compacta pantalla OLED tiene una diagonal de 1.3 inch y una resolución de 128x64 píxeles. Gracias a la visualización en blanco, la pantalla es fácil de leer en diferentes condiciones de luz.
La pantalla es ideal para proyectos en los que se necesita una pantalla clara y nítida con una conexión I2C sencilla. El amplio rango de alimentación y su robusto funcionamiento en temperatura la hacen adecuada para diversas aplicaciones.
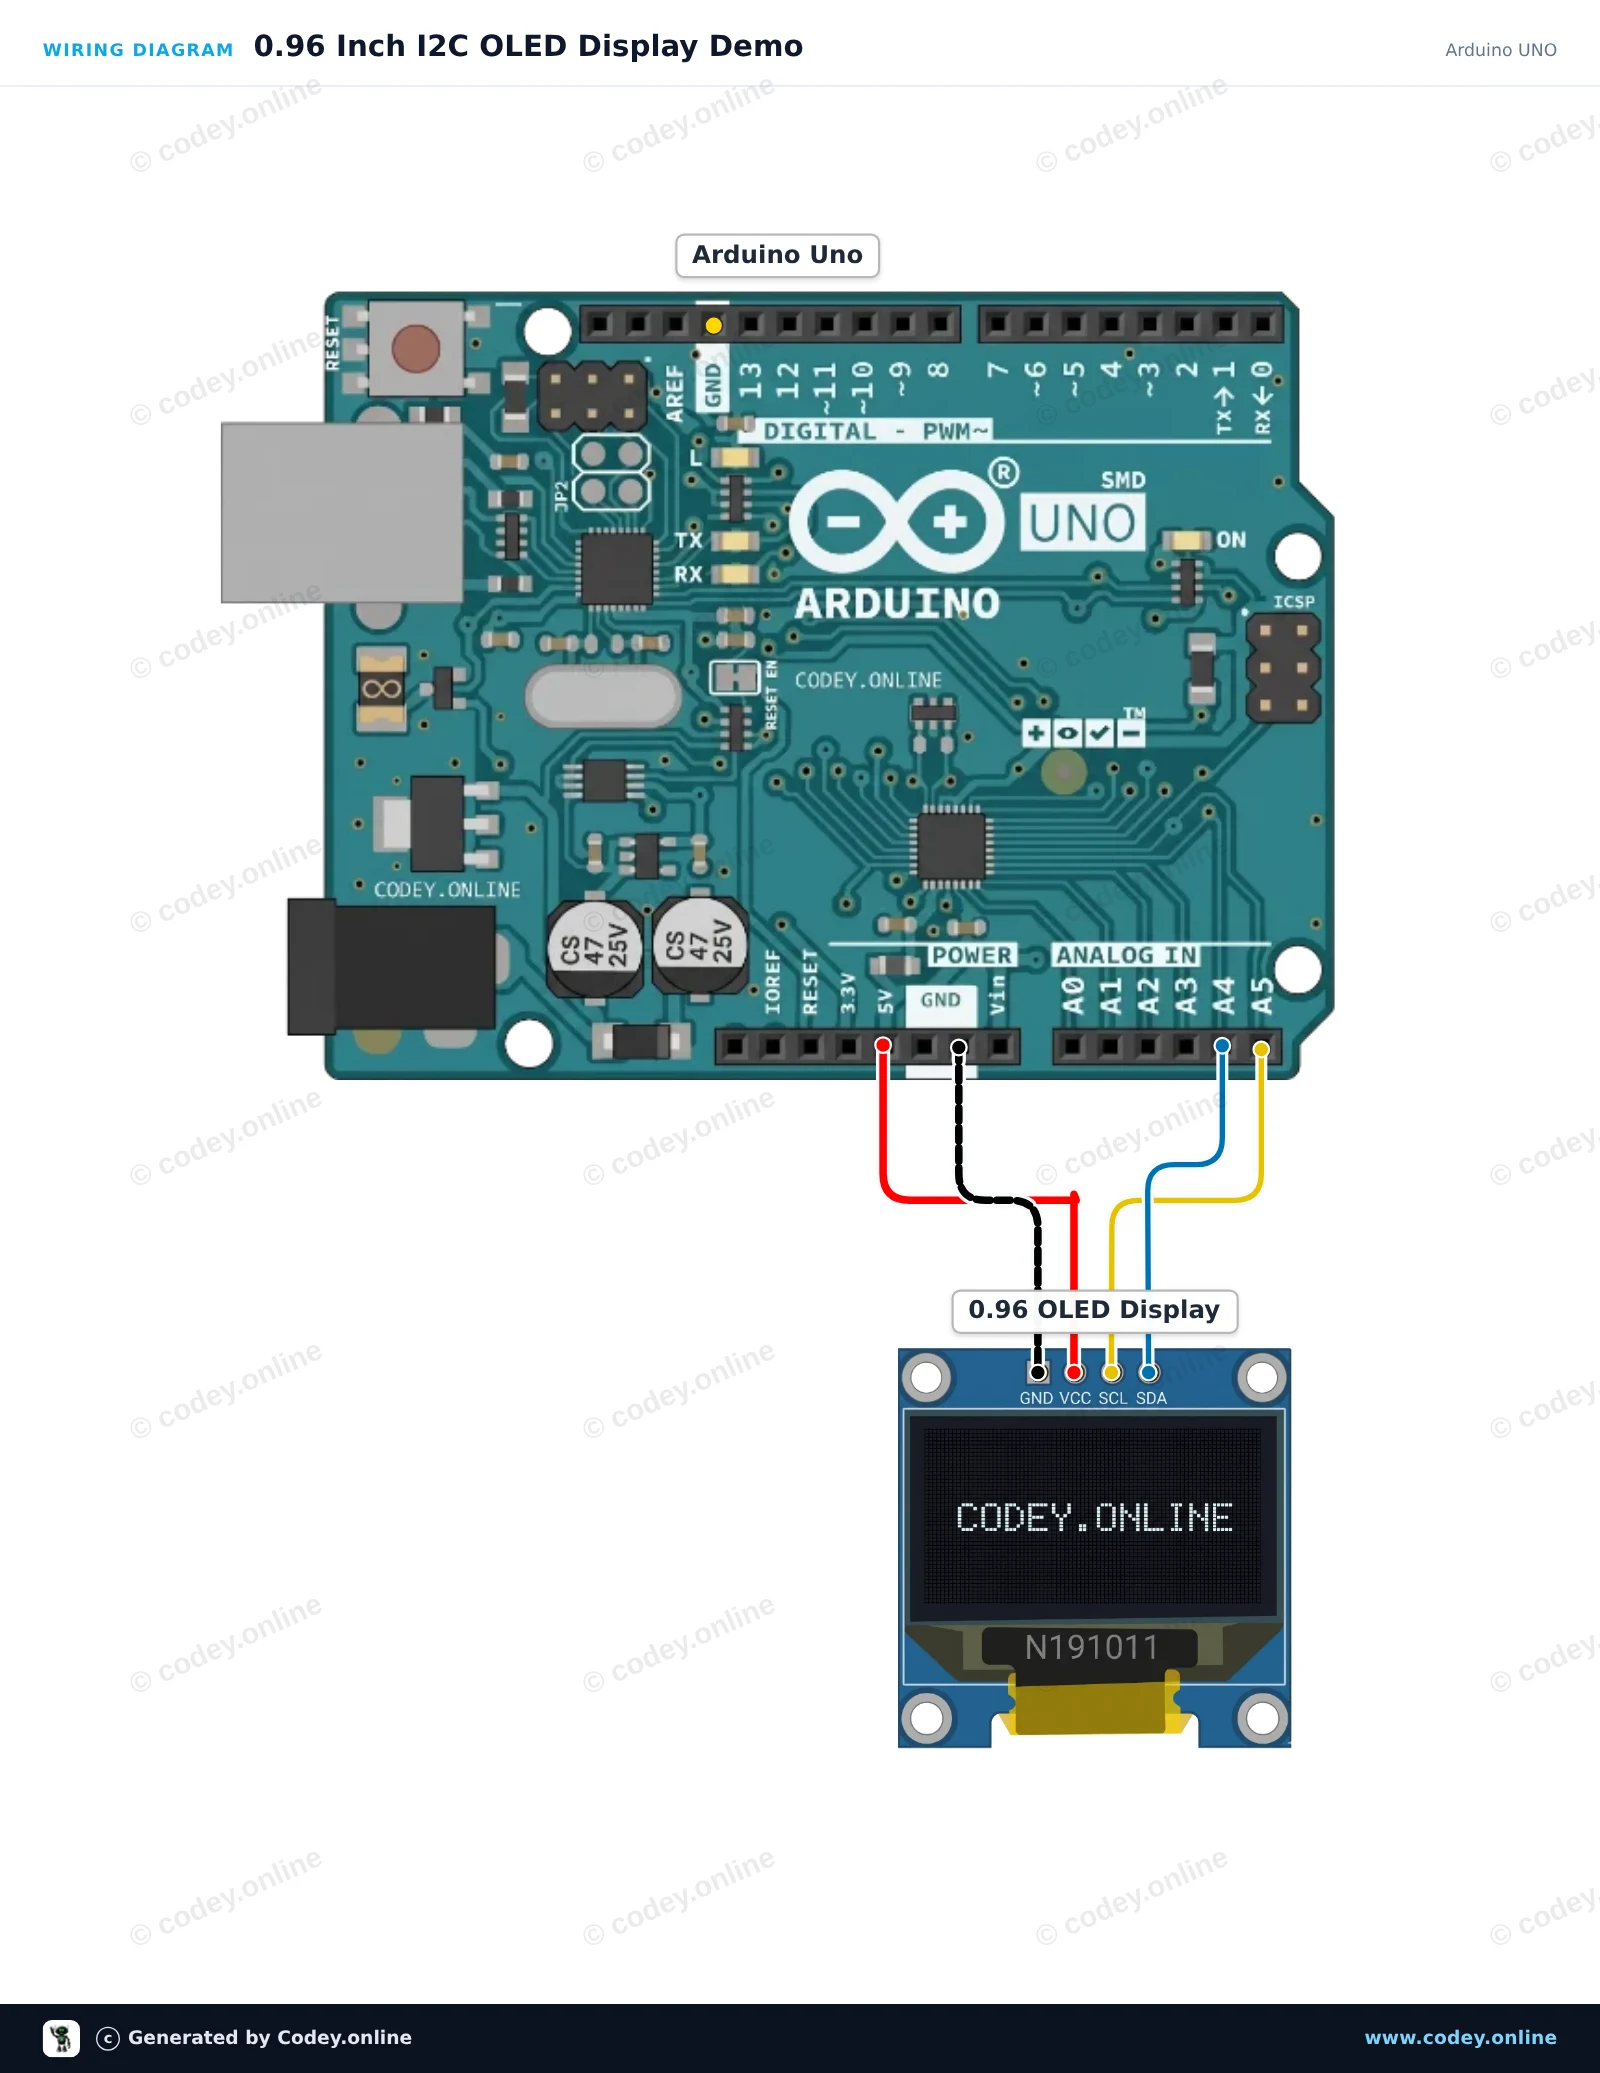
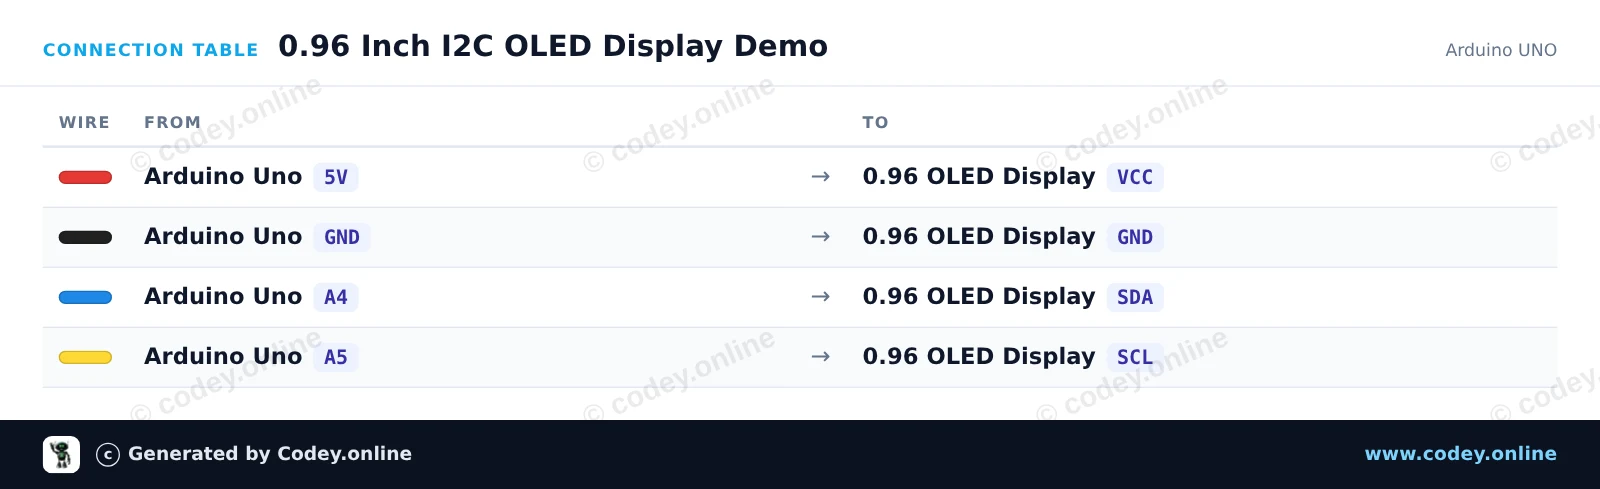
Así conectas el Mini pantalla OLED blanca 1.3 inch 128x64 I2C a un Arduino UNO o ESP32, con un sketch de ejemplo que puedes subir directamente.
Este proyecto demuestra cómo conectar y mostrar texto, gráficos y un contador en una pantalla OLED I2C de 0.96-inch con un Arduino Uno. El sketch utiliza la ligera biblioteca U8g2 para mostrar un título, una línea separadora y un contador ascendente.
/*
 * ==================================================================
 *  Generated by Codey.online  —  https://www.codey.online
 * ==================================================================
 *  Project   : 0.96 Inch I2C OLED Display Demo
 *  Board     : Arduino UNO (arduino:avr:uno)
 *  Parts     : OLED Display 0.96 inch
 *  Libraries : U8g2 2.36.19
 *
 *  Codey Online is an AI-powered browser IDE for Arduino and ESP32.
 *  Describe your project and Codey writes the code, draws the wiring
 *  diagram and uploads it to your board, straight from the browser.
 *  This code is free to use, modify and share, without warranty.
 * ==================================================================
 */

#include <Wire.h>
#include <U8g2lib.h>

// Initialize U8g2 for 128x64 SSD1306 OLED using hardware I2C
U8G2_SSD1306_128X64_NONAME_1_HW_I2C u8g2(U8G2_R0, /* reset=*/ U8X8_PIN_NONE);

int counter = 0;

void setup() {
  Serial.begin(115200);
  u8g2.begin();
  Serial.println(F("OLED display initialized."));
}

void loop() {
  u8g2.firstPage();
  do {
    // Header
    u8g2.setFont(u8g2_font_ncenB08_tr);
    u8g2.drawStr(0, 12, "Arduino Uno + OLED");

    // Dividing line
    u8g2.drawLine(0, 16, 127, 16);

    // Counter value
    u8g2.setFont(u8g2_font_ncenB12_tr);
    u8g2.setCursor(0, 40);
    u8g2.print(F("Count: "));
    u8g2.print(counter);

    // Footer / status
    u8g2.setFont(u8g2_font_6x10_tr);
    u8g2.drawStr(0, 58, "Status: Running");
  } while (u8g2.nextPage());

  counter++;
  delay(1000);
}Bibliotecas necesarias: U8g2 2.36.19
Wiring diagram and example code generated by Codey.online — https://www.codey.online
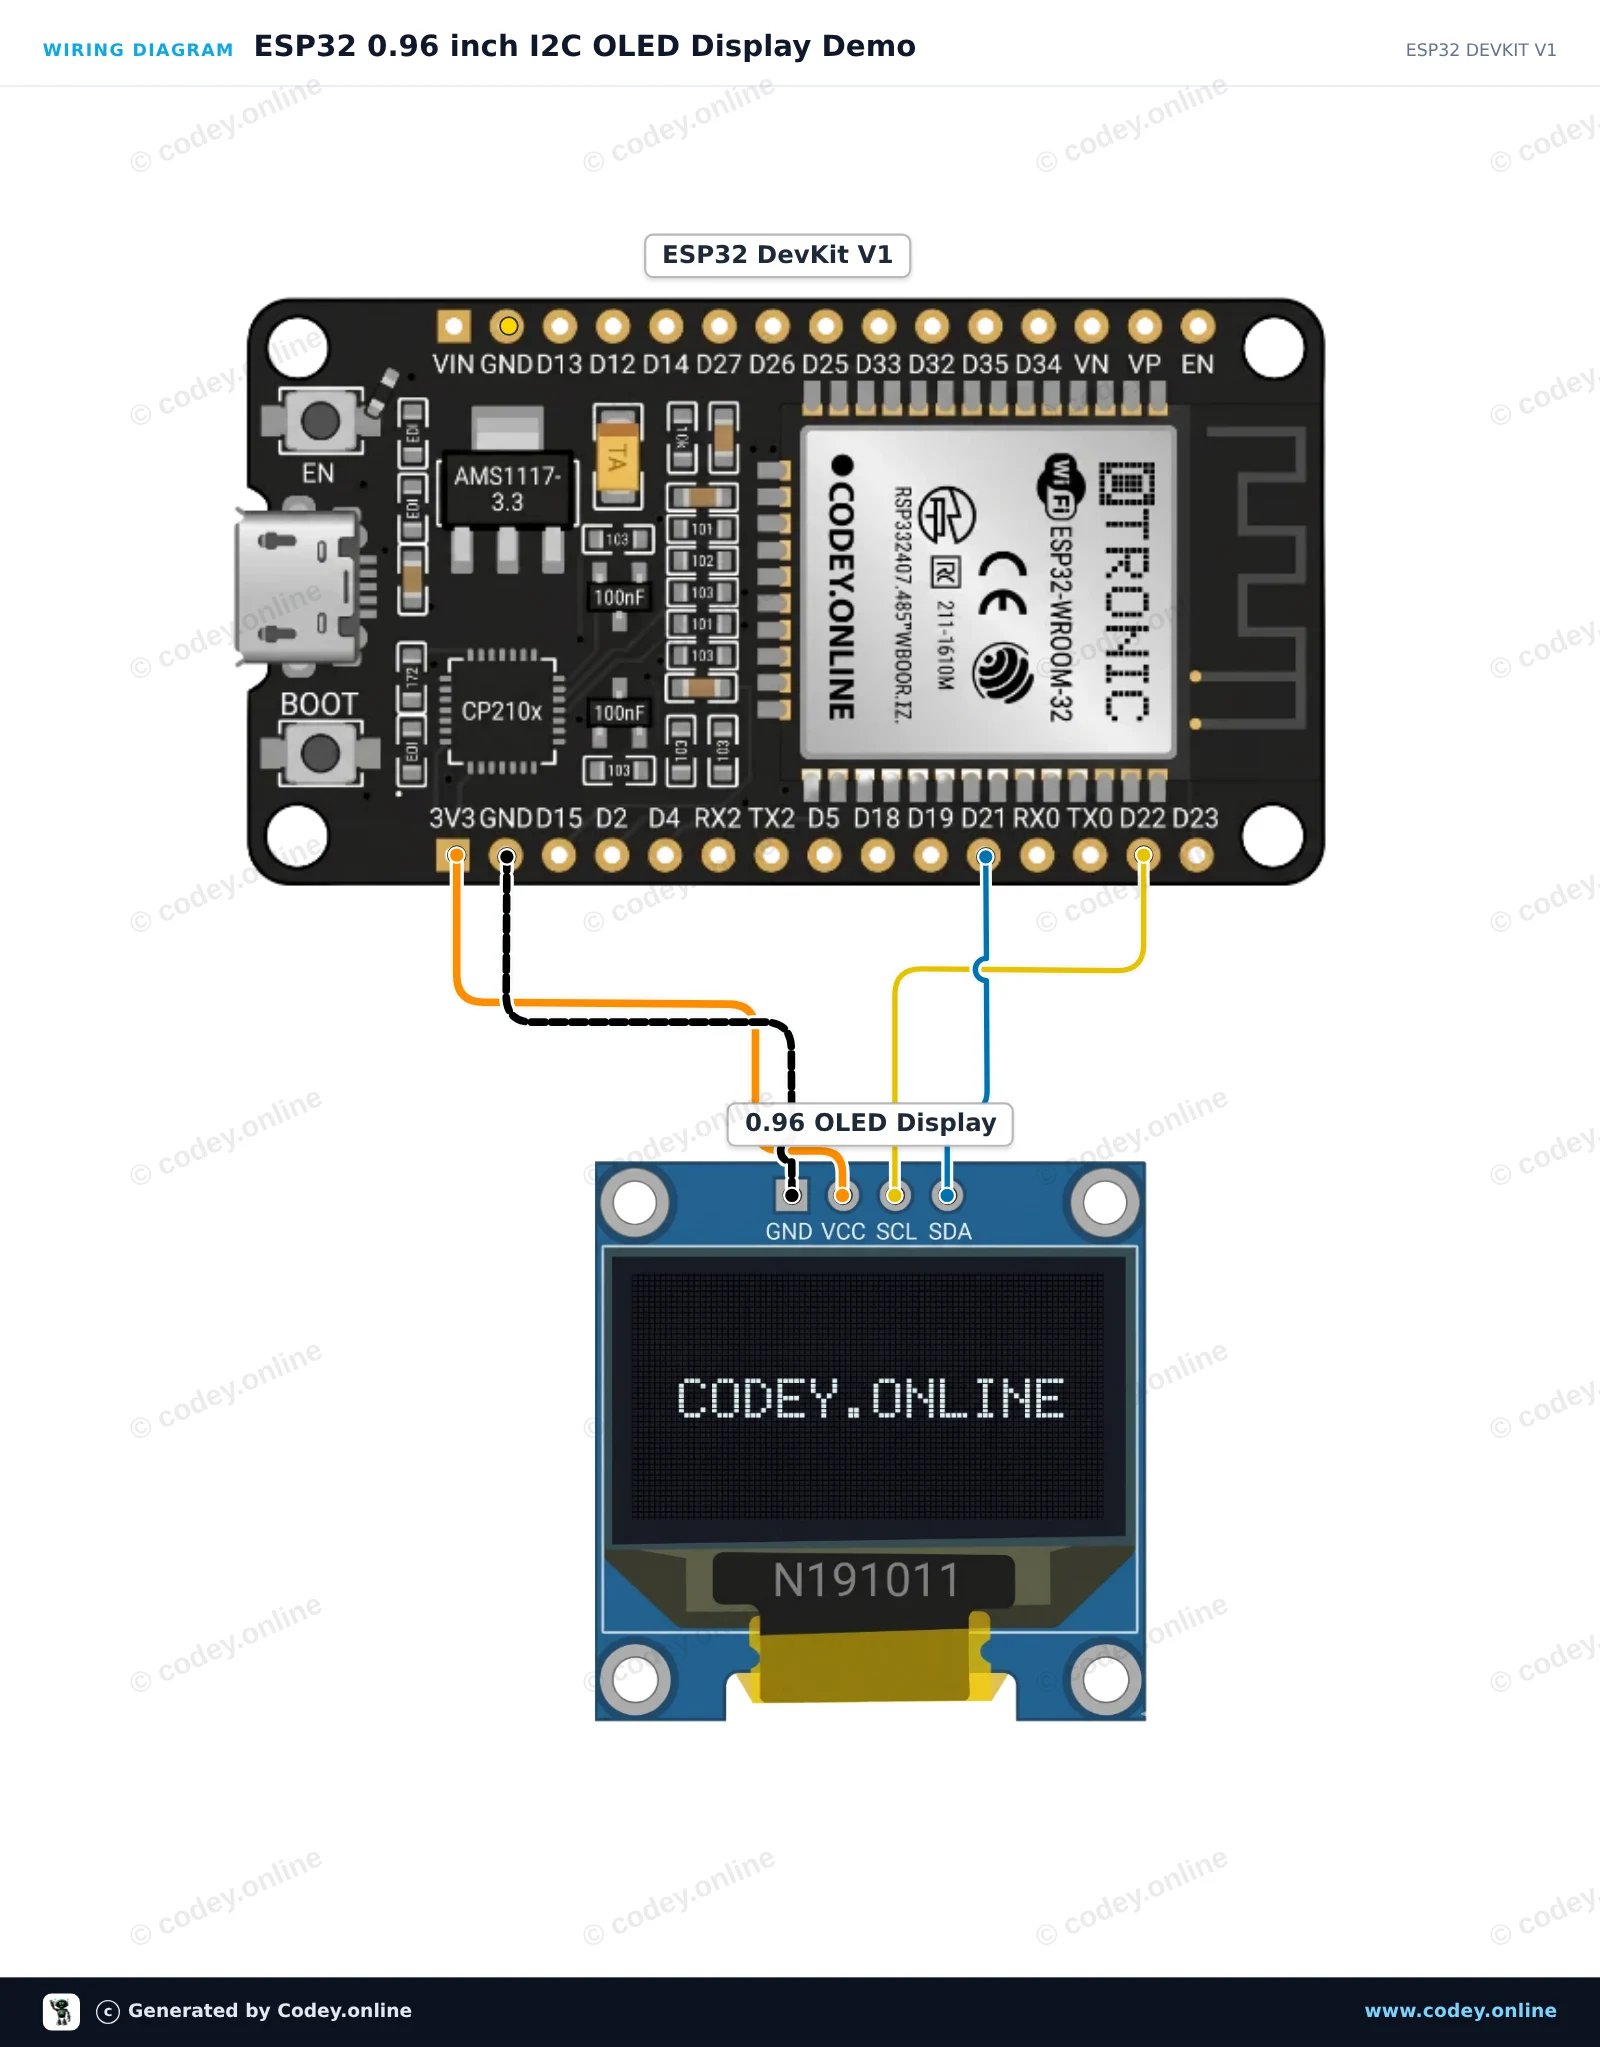
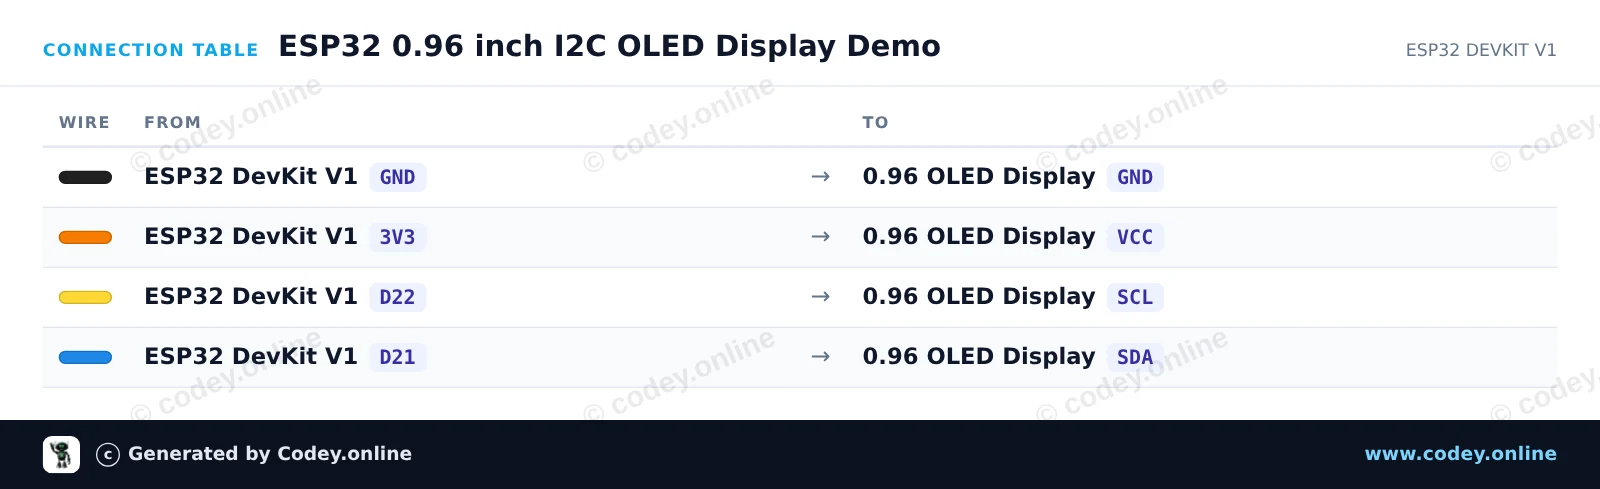
Este proyecto demuestra cómo conectar una pantalla OLED I2C de 0.96 inch a un ESP32. La pantalla se inicializa usando los pines I2C predeterminados (GPIO 21 para SDA, GPIO 22 para SCL) y muestra un texto de bienvenida junto con un contador en vivo que se actualiza.
/*
 * ==================================================================
 *  Generated by Codey.online  —  https://www.codey.online
 * ==================================================================
 *  Project   : ESP32 0.96 inch I2C OLED Display Demo
 *  Board     : ESP32 DEVKIT V1 (esp32:esp32:esp32doit-devkit-v1)
 *  Parts     : OLED Display 0.96 inch
 *  Libraries : Adafruit SSD1306 2.5.16, Adafruit GFX Library 1.12.6
 *
 *  Codey Online is an AI-powered browser IDE for Arduino and ESP32.
 *  Describe your project and Codey writes the code, draws the wiring
 *  diagram and uploads it to your board, straight from the browser.
 *  This code is free to use, modify and share, without warranty.
 * ==================================================================
 */

#include <Wire.h>
#include <Adafruit_GFX.h>
#include <Adafruit_SSD1306.h>

#define SCREEN_WIDTH 128
#define SCREEN_HEIGHT 64
#define OLED_RESET    -1
#define SCREEN_ADDRESS 0x3C

Adafruit_SSD1306 display(SCREEN_WIDTH, SCREEN_HEIGHT, &Wire, OLED_RESET);

int counter = 0;

void setup() {
  Serial.begin(115200);

  // Default ESP32 I2C pins: SDA = GPIO 21, SCL = GPIO 22
  Wire.begin(21, 22);

  if (!display.begin(SSD1306_SWITCHCAPVCC, SCREEN_ADDRESS)) {
    Serial.println(F("SSD1306 allocation failed"));
    while (true);
  }

  display.clearDisplay();
  display.setTextColor(SSD1306_WHITE);
  display.setTextSize(1);
  display.setCursor(0, 0);
  display.println(F("ESP32 OLED Demo"));
  display.display();
  delay(1500);
}

void loop() {
  display.clearDisplay();

  display.setTextSize(1);
  display.setCursor(0, 0);
  display.println(F("ESP32 + SSD1306"));

  display.drawLine(0, 12, display.width(), 12, SSD1306_WHITE);

  display.setCursor(0, 20);
  display.print(F("Counter: "));
  display.setTextSize(2);
  display.setCursor(0, 36);
  display.print(counter);

  display.display();

  counter++;
  delay(1000);
}Bibliotecas necesarias: Adafruit SSD1306 2.5.16, Adafruit GFX Library 1.12.6
Wiring diagram and example code generated by Codey.online — https://www.codey.online





 English
  Nederlands
  Frans
Frans  Deutsch
  Italiano
  Suomi
Suomi  Polski
  Dansk
Dansk  Ελληνικά
  Български
  Čeština
  Hrvatski
  Aileen